Every year around 50 roofers die on the job. Not all of those deaths are related to falls, but many of them are. One thing that can help save lives is using a proper safety harness when you’re on the job.
In today’s post, we’re covering all things roofing harnesses so that you can feel confident the next time you get up on the roof. The right roofing harness used correctly might just save your life.
Fall Protection Requirements for Roofing
As we’ve already stated, the roof is probably the most dangerous part of any commercial or residential building. It’s also one of the highest places you can be, and if something happens while you’re up there, it could mean serious injury or death.
Because of that, OSHA requires harnesses for roofing at just about any height. To know exactly what’s required for you and your crew, it’s important to check local regulations for the area you’re working in. We recommend that you use your harness whenever you’re up working on the roof to protect against falls.
Personal Fall Arrest Systems vs. Fall Restraints
When it comes to harnesses, you’ll find two different types of harnesses that you can purchase. First is a personal fall arrest system or PFAS. The second is a fall restraint. These keep you from reaching the edge of the roof when working.
Simply put, PFAS systems will keep you from hitting the ground, and fall restraints will keep you from falling off the roof at all. Today we’re talking about how to use the PFAS system because they’re much more common.
Setting Up Your Roof Harness
Before you can get your roof harness set up, you’ll have to get on the roof. After that, you’ll be able to get the different helps in place so you can reach the peak and attach your harness.
Here are the steps in order:
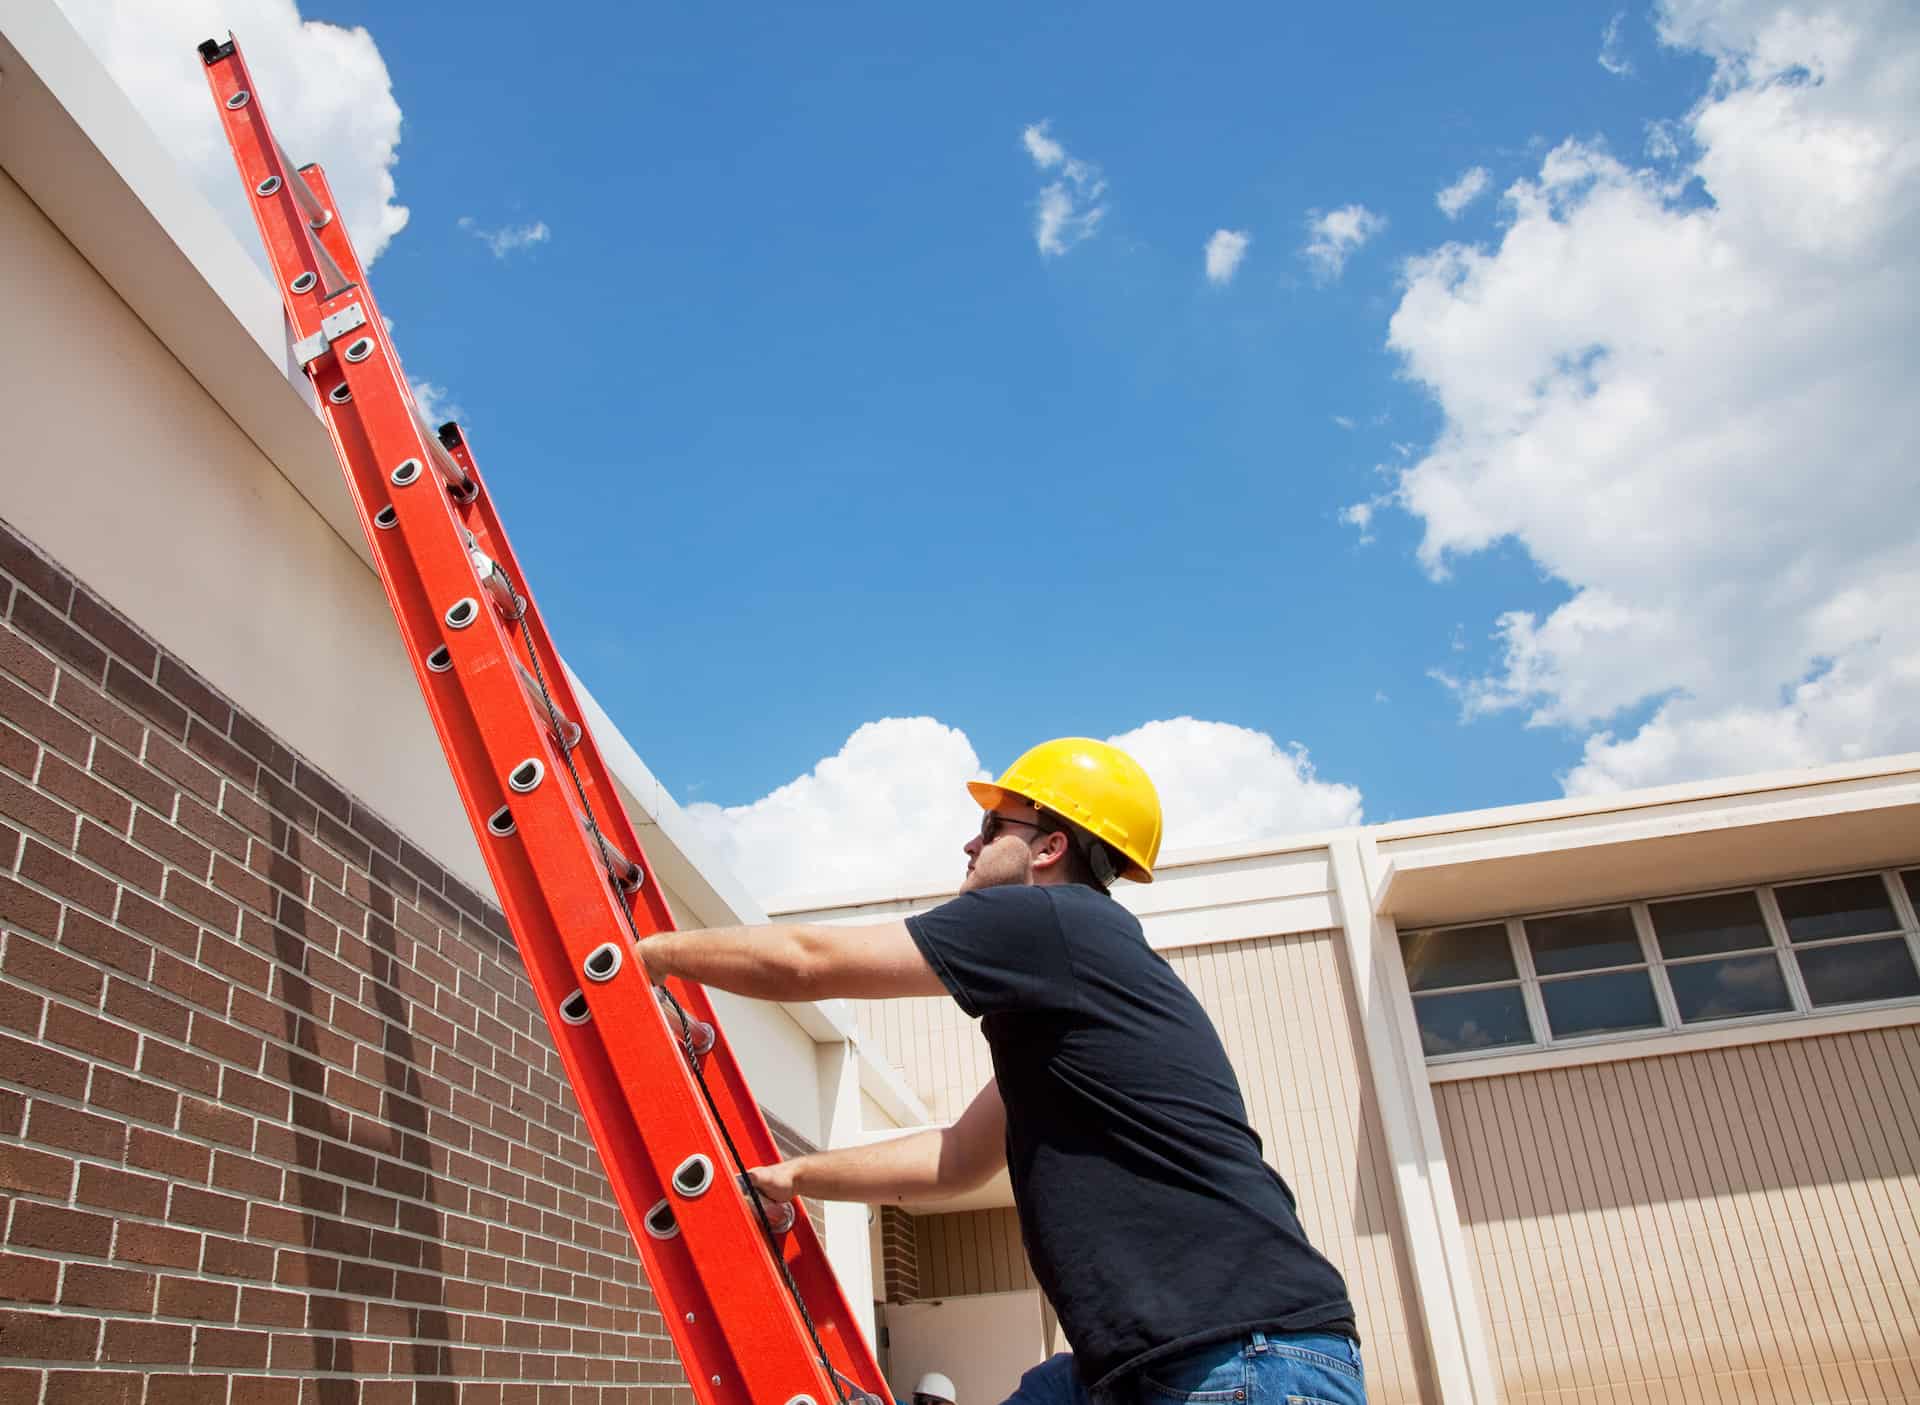
- Use an extension ladder to gain access to the roof
- Build a slide guard with roof brackets and lumber
- Put your roofing harness on
- Attach anchor points to the roof
- Hook up your lifeline and rope grab
- Attach the lanyard for fall protection
Getting Onto the Roofing
First up, you’ll have to get up on the roof. If you’re a homeowner, you might need to buy, borrow, or rent an extension ladder. You’ll want the ladder to be tall enough to sit around 3 feet above the roof when it’s cleaned up.
If it’s not tall enough, getting onto the roof can be very dangerous.
Build a Slide Guard
Next up, you’ll need to build a slide guard. At this point, you don’t have anything that’s going to keep you up on the roof. The slope of the roof can be really dangerous until you’re able to secure your harness.
Install Roof Brackets
By installing roof brackets 2-3 feet from the edge of the roof, you’ll be able to use lumber to create edges that keep you from sliding down the roof too fast.
Attach 2×6 or 2×4 Boards
Using 2×6 or 2×4 boards, depending on the size of roof brackets you have attached to the roof, you’ll be able to create a simple barrier that will help keep you on the roof if you ever come close to sliding down towards the edge. It can also help keep tools you drop from falling and help you get a good footing as you start to head up the roof.
Get Your Roofing Harness On
Now that you’ve gotten onto the roof and set up some fall protection, it’s time to put your harness on. It should go over your clothes with some slack in between so it doesn’t restrict movement too much when working or climbing around on the roof.
After you have your roofing harness ready to go, it’s time to head up towards the peak and attach anchor points.

Securing Anchor Points
The anchor point is a simple metal bracket that will have a few different nail or screw holes. See the manufacturer’s directions for the best way to attach these brackets to the roof. When you have them securely fastened, you’ll be ready to hook your lines to it.
Hooking on Your Lifeline and Rope Grab
The lifeline and rope grab are two different ropes. A lifeline is a line that connects your lanyard and rope grab to the harness and anchor point.
The rope grab is what you’ll use to hold yourself up on the roof. When the roof is too steep to walk, you’ll have the rope help as you walk up and down the steep slope.
Lanyard (Fall Protection)
Lastly, your lanyard is the fall protection that’s required to ensure you stay safe on the roof. It’s a simple shock-absorbing system that helps to reduce the severity of a fall. If you don’t have a lanyard attached to your harness, you’ll need to have a deceleration device or a self-retracting lanyard per regulations.
Each of these tools will help keep you safe on the roof. When you’re ready to move onto another roof or just need some work done around your home, be sure to properly use these tools so you can safely get things done!
If you’re not ready to get up on the roof yourself and feel it’s best to call a professional, then be sure to check out our Roofing Directorii. There you’ll find local contractors that we’ve thoroughly vetted.